Pumpkin Cookies Recipe: Soft, Flavorful, and Perfect for Fall

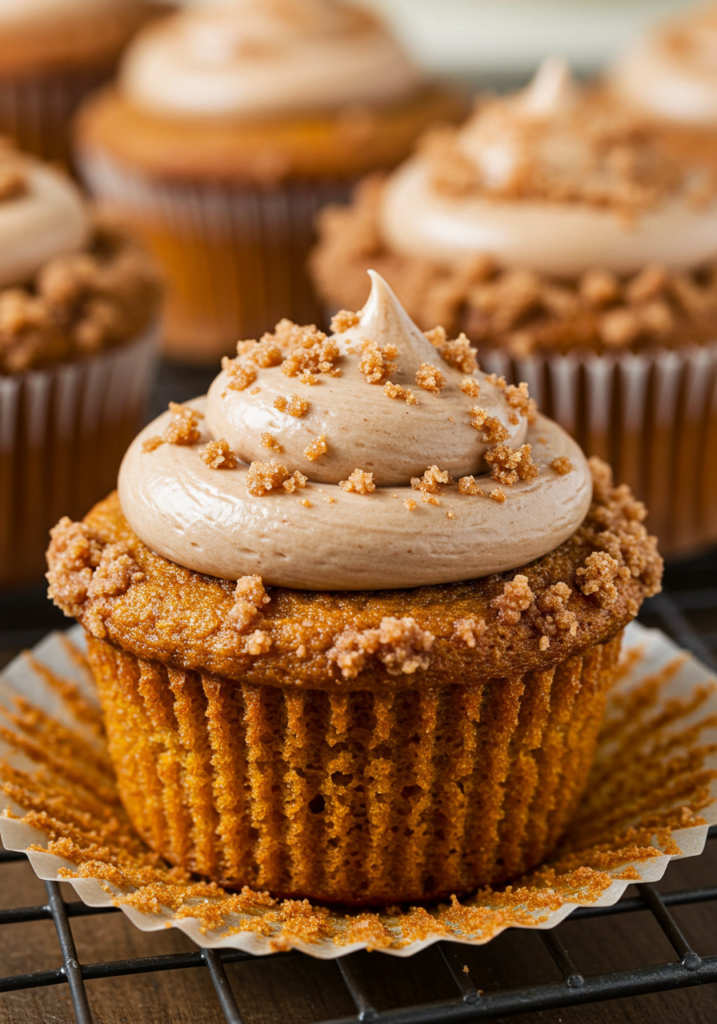
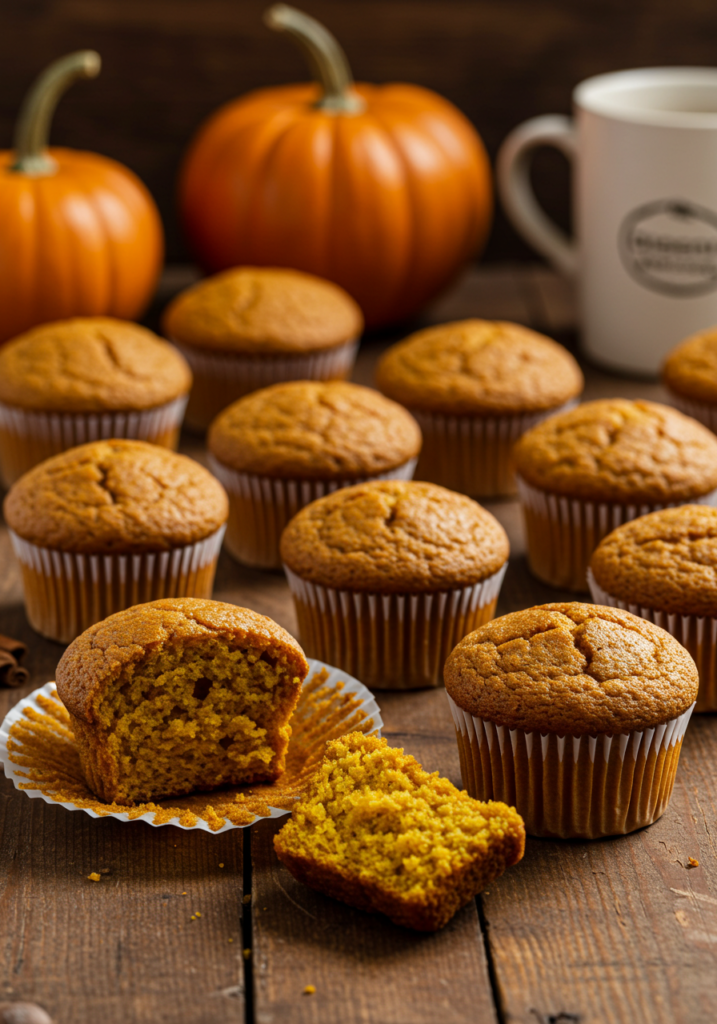
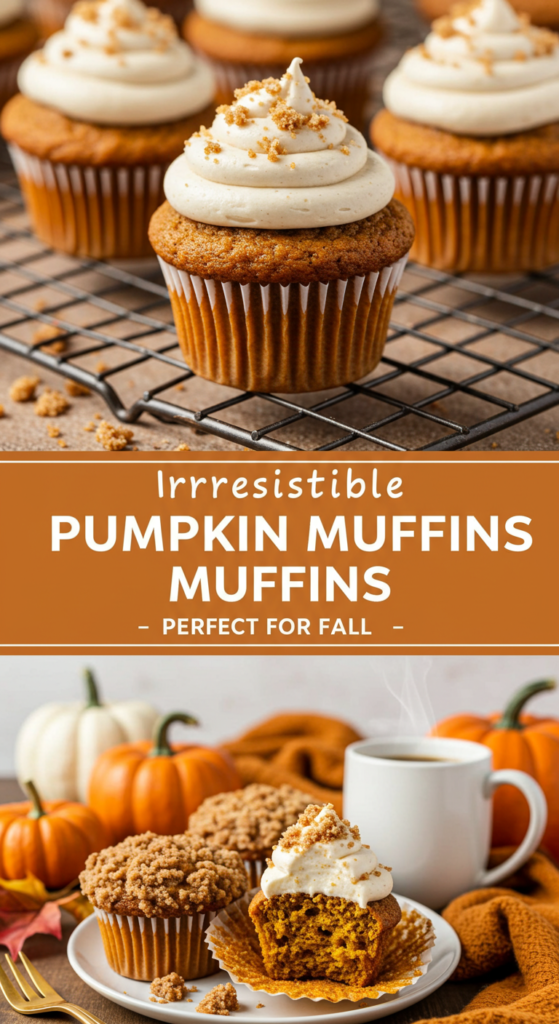
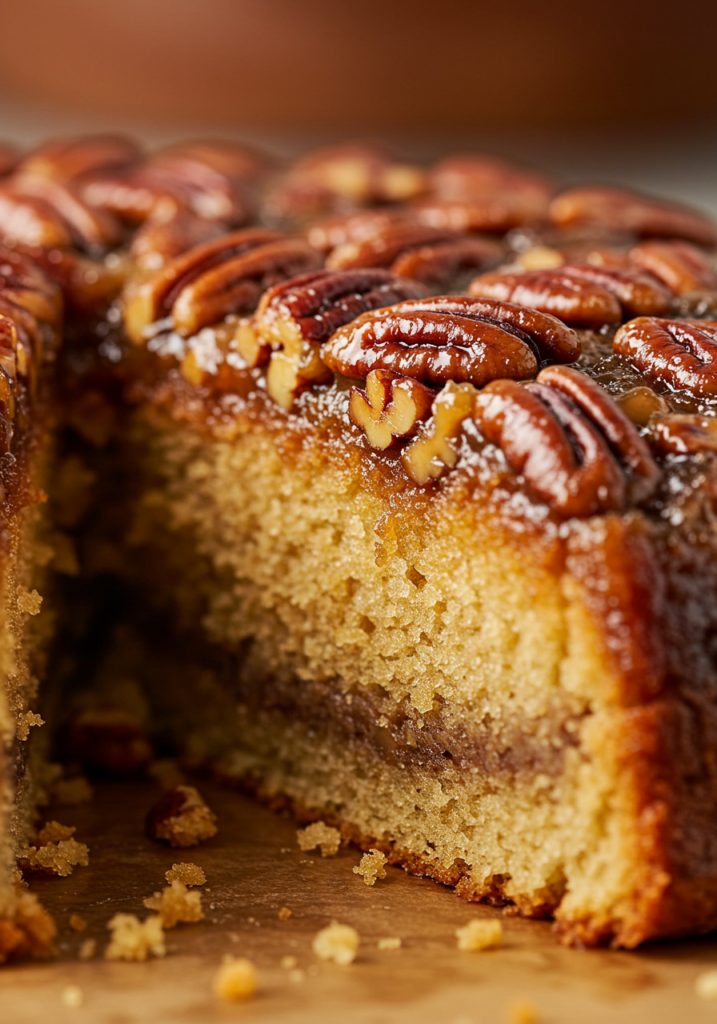
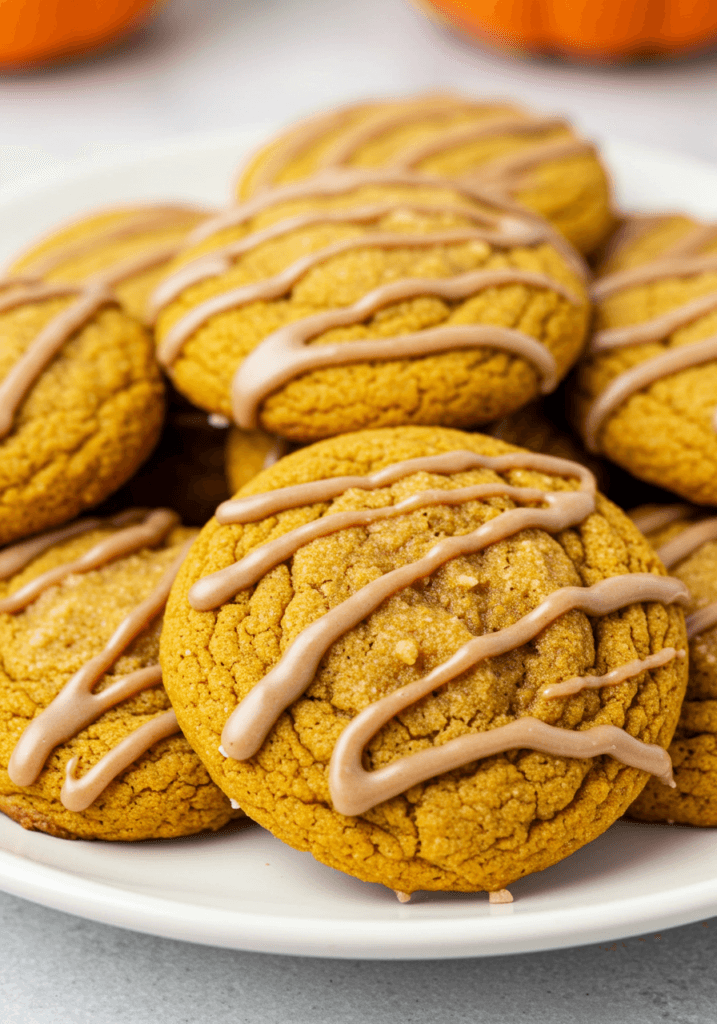
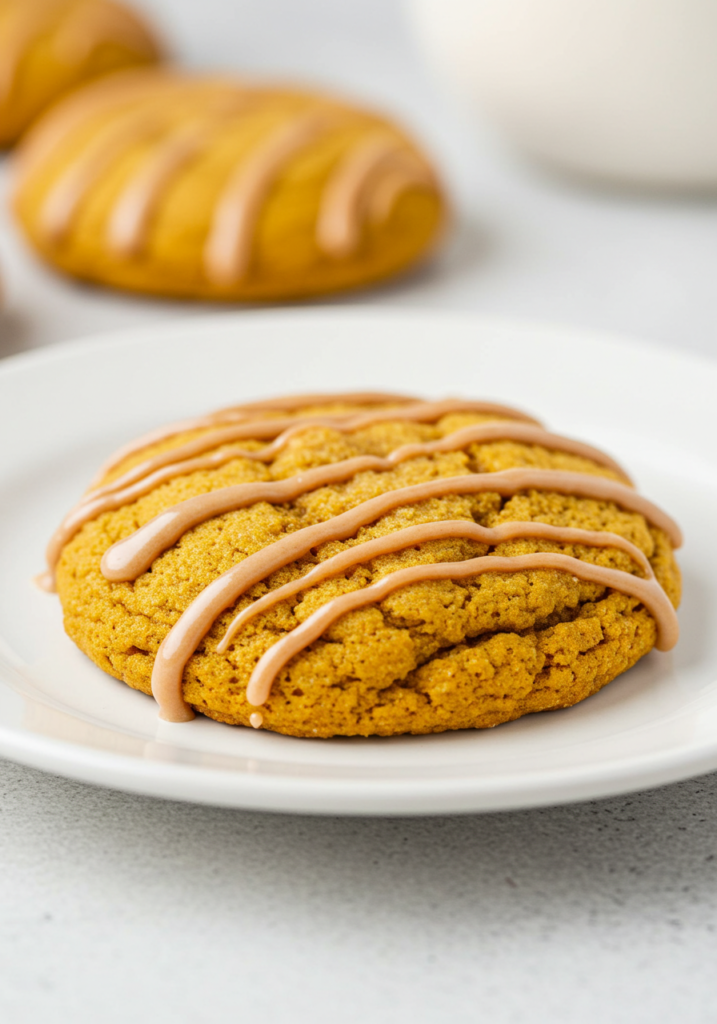
Pumpkin cookies are a seasonal favorite. Their soft texture, rich flavor, and hint of warm spices make them a must-try treat for autumn. This easy recipe is perfect for beginners and experienced bakers alike.

Pumpkin Cookies

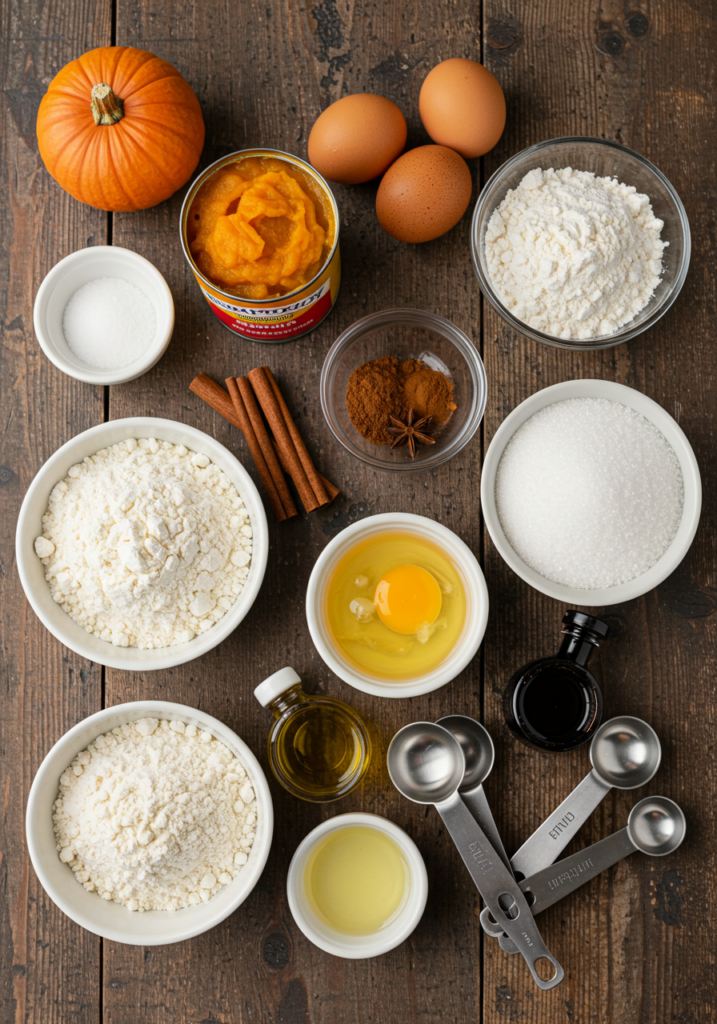
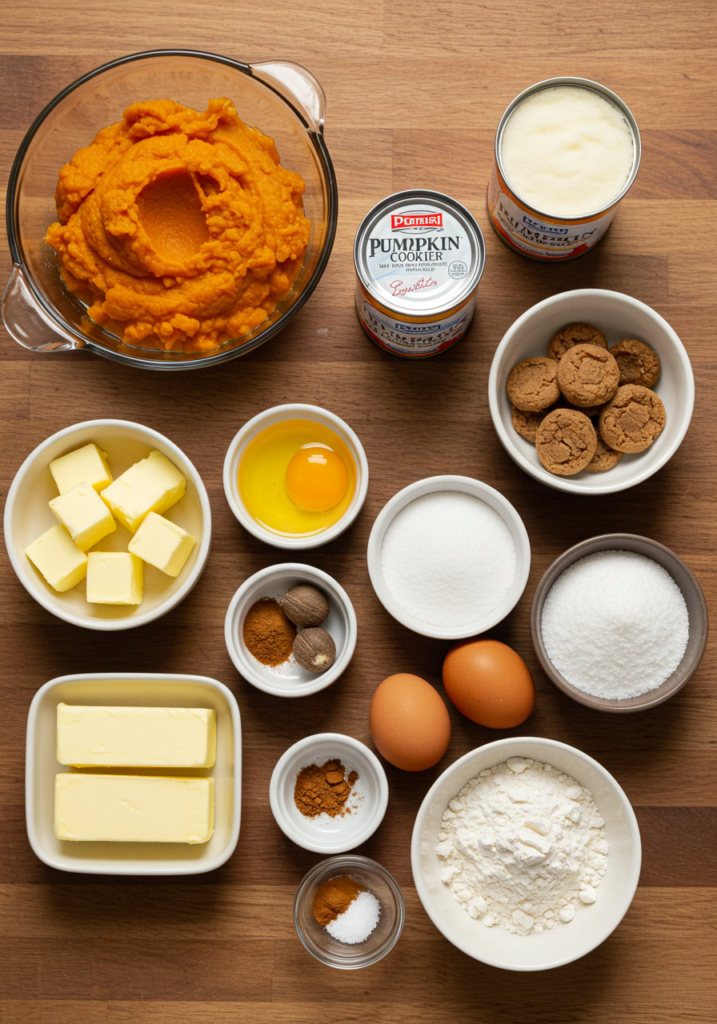
Ingredients of Pumpkin Cookies
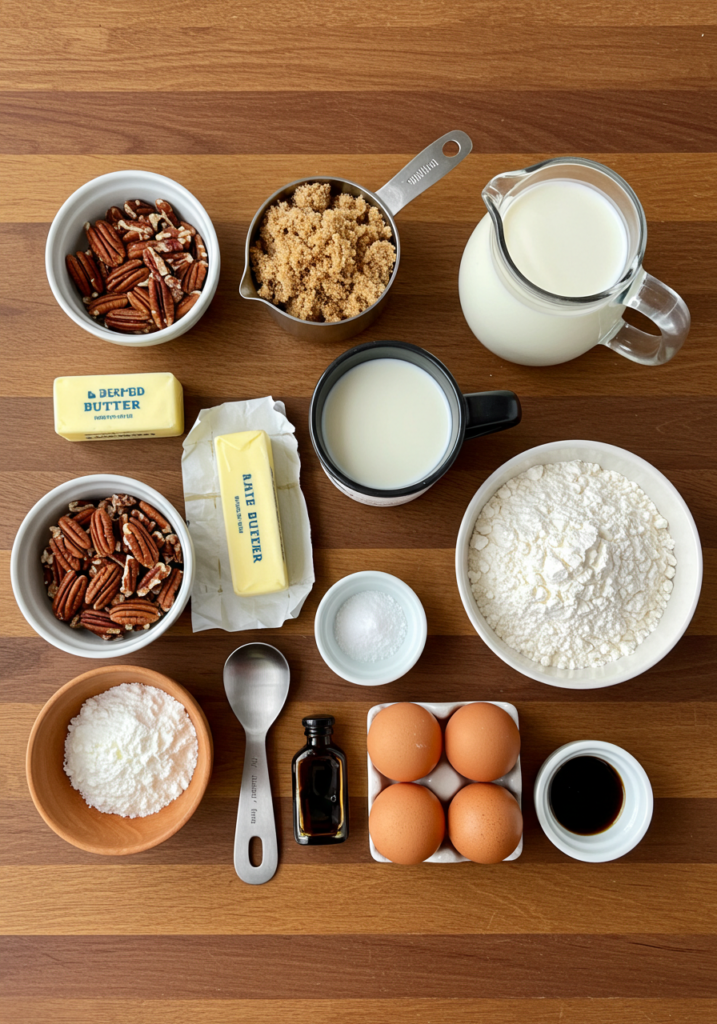
For the cookies:

  • 1 cup unsalted butter, softened
  • 1 cup granulated sugar
  • 1/2 cup brown sugar
  • 1 cup canned pumpkin puree
  • 1 large egg
  • 1 teaspoon vanilla extract
  • 2 cups all-purpose flour
  • 1 teaspoon baking soda
  • 1 teaspoon baking powder
  • 1 teaspoon ground cinnamon
  • 1/2 teaspoon ground nutmeg
  • 1/2 teaspoon salt

For the glaze (optional):

  • 1 cup powdered sugar
  • 2 tablespoons milk
  • 1/2 teaspoon vanilla extract
Pumpkin Cookies

Steps to Prepare

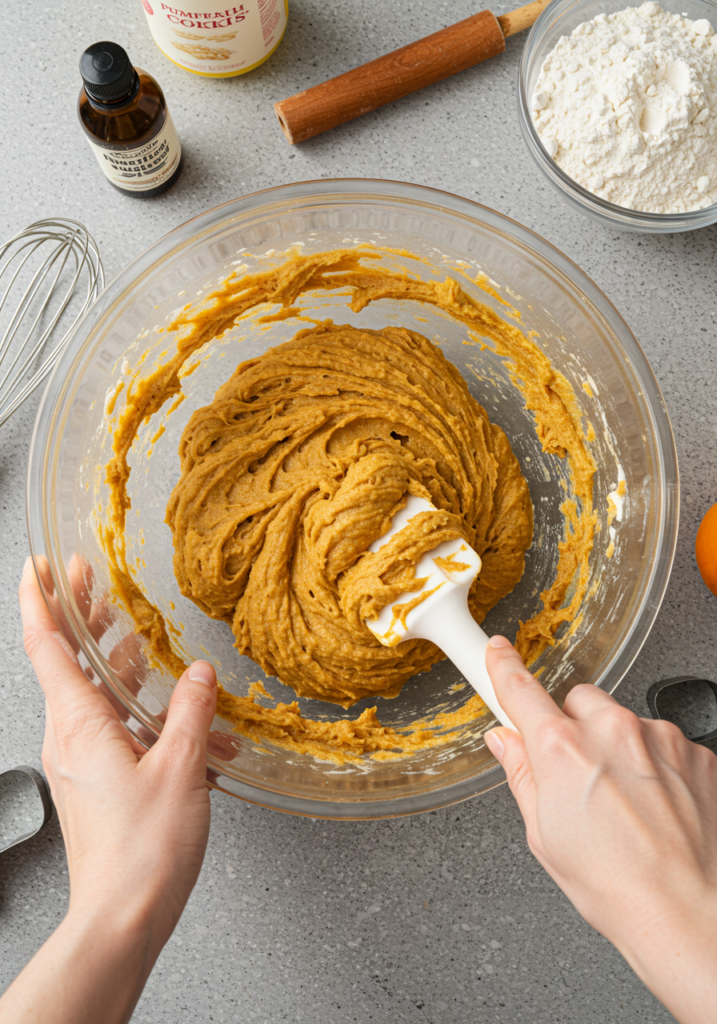
1. Prepare the Dough

  • Preheat your oven to 350°F (175°C).
  • In a large mixing bowl, beat the butter, granulated sugar, and brown sugar until creamy.
  • Add the pumpkin puree, egg, and vanilla extract. Mix well.
  • In a separate bowl, whisk together the flour, baking soda, baking powder, cinnamon, nutmeg, and salt.
  • Gradually add the dry ingredients to the wet ingredients, mixing until just combined.
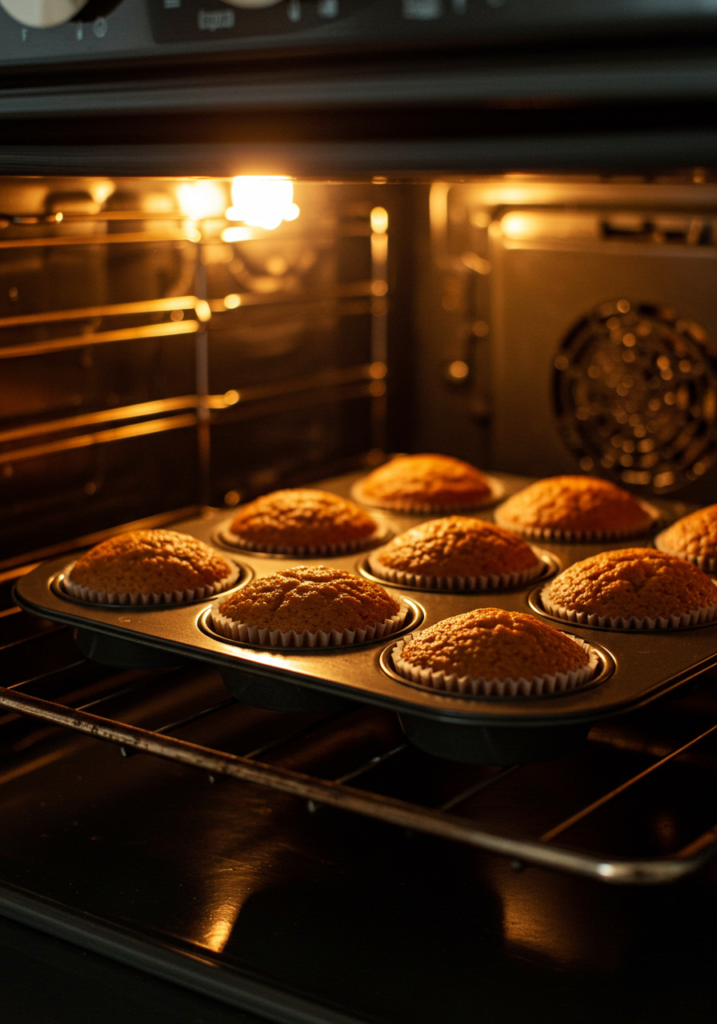
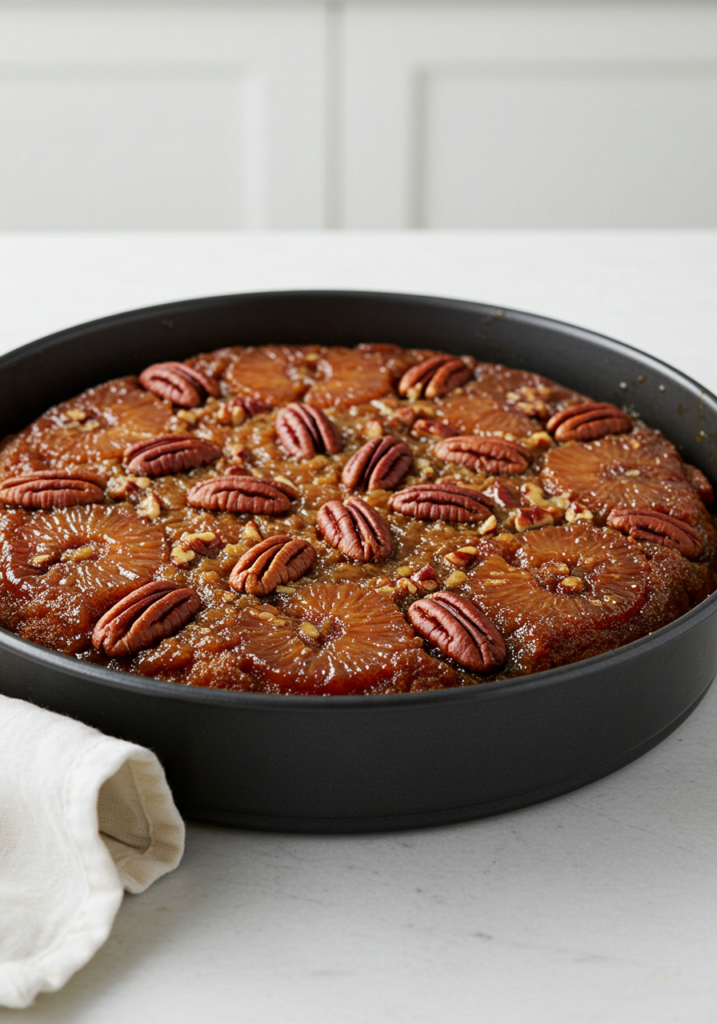
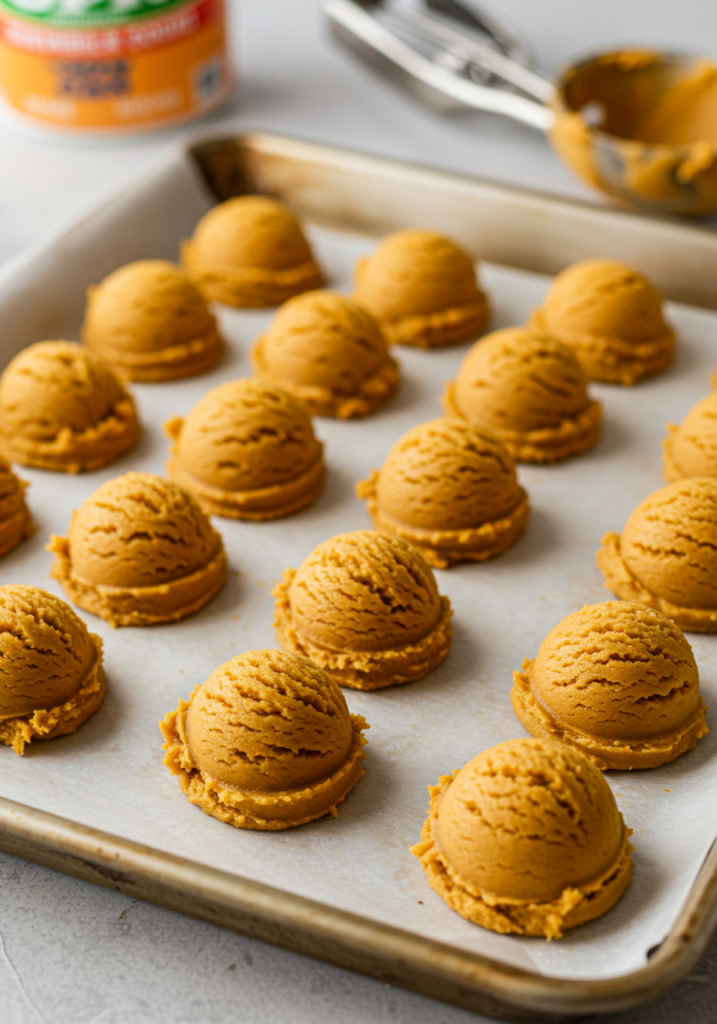
Pumpkin Cookies

2. Shape and Bake

  • Line a baking sheet with parchment paper.
  • Scoop tablespoon-sized portions of the dough onto the sheet, spacing them about 2 inches apart.
  • Bake for 12-15 minutes, or until the edges are slightly golden.
  • Let the cookies cool on the baking sheet for 5 minutes before transferring them to a wire rack to cool completely.
Pumpkin Cookies

3. Add the Glaze (Optional)

  • In a small bowl, mix powdered sugar, milk, and vanilla extract until smooth.
  • Drizzle the glaze over the cooled cookies using a spoon or piping bag.
  • Allow the glaze to set before serving.

Tips for Perfect Pumpkin Cookies

  • Use pure pumpkin puree, not pumpkin pie filling, for the best flavor.
  • For extra spice, add 1/4 teaspoon of ground cloves or ginger.
  • Store cookies in an airtight container at room temperature for up to 4 days, or freeze them for longer storage.
Pumpkin Cookies

Frequently Asked Questions (FAQs)

1. Can I use fresh pumpkin instead of canned? Yes, roast and puree fresh pumpkin until smooth, then measure one cup for this recipe.

2. How can I make these cookies dairy-free? Use dairy-free butter and a plant-based milk alternative for the glaze.

3. Why are my cookies flat? Ensure your butter isn’t overly soft, and don’t skip the baking soda and baking powder. These ingredients help the cookies rise.

4. Can I add mix-ins like chocolate chips or nuts? Absolutely! Fold in a cup of chocolate chips, chopped pecans, or walnuts for added texture and flavor.

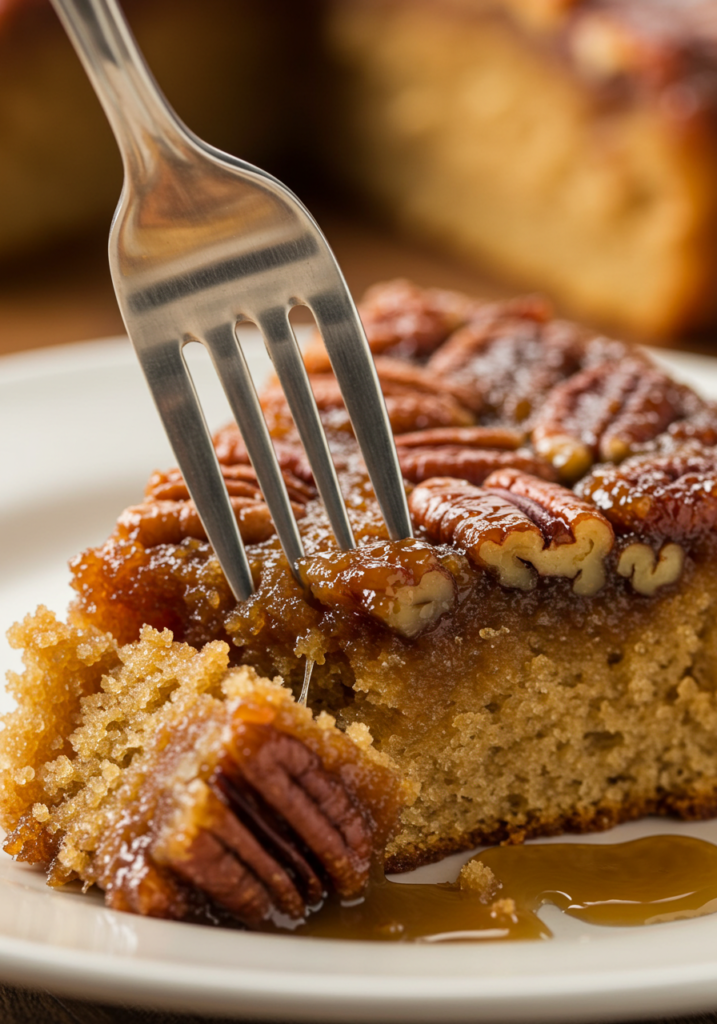
These pumpkin cookies are sure to become a fall tradition in your home. Try the recipe and let us know how they turned out in the comments below!

Potato Soup Recipe: A Warm and Comforting Dish

Potato soup is a simple yet satisfying recipe that never fails to please. It’s hearty, flavorful, and perfect for any season. In this article, we’ll explore a step-by-step guide to preparing a creamy potato soup, tips to enhance its taste, and frequently asked questions to make this dish a guaranteed success.

Ingredients

Here’s what you’ll need:

  • 1 kg potatoes (peeled and diced)
  • 1 medium onion (chopped)
  • 2 garlic cloves (minced)
  • 3 cups chicken or vegetable broth
  • 1 cup heavy cream (or milk for a lighter option)
  • 2 tablespoons butter
  • Salt and pepper to taste
  • Optional toppings: shredded cheese, chopped parsley, crumbled bacon, or green onions

Step-by-Step Instructions

  1. Prepare the Ingredients
    • Wash, peel, and dice the potatoes.
    • Chop the onion and mince the garlic.
  2. Cook the Vegetables
    • In a large pot, melt butter over medium heat.
    • Add the onion and garlic. Sauté until translucent (about 3 minutes).
  3. Boil the Potatoes
    • Add the diced potatoes and broth to the pot.
    • Bring to a boil, then reduce heat to a simmer.
    • Cover and cook for 15-20 minutes or until potatoes are tender.
  4. Blend the Soup
    • Use an immersion blender to puree the soup until smooth.
    • Alternatively, transfer it to a blender in batches, then return to the pot.
  5. Add Cream and Season
    • Stir in the heavy cream and mix well.
    • Season with salt and pepper to taste.
  6. Serve and Garnish
    • Ladle the soup into bowls.
    • Add your favorite toppings for extra flavor.

Tips for a Better Potato Soup

  • Use starchy potatoes like Russets for a creamier texture.
  • For a smoky flavor, add a pinch of smoked paprika.
  • If you prefer a chunkier soup, blend only half the mixture.
  • Store leftovers in an airtight container for up to 3 days in the refrigerator.

FAQs About Potato Soup

1. Can I make this soup vegan? Yes, replace butter with olive oil, heavy cream with coconut milk, and use vegetable broth.

2. Can I freeze potato soup? Yes, but avoid adding the cream before freezing. Add it after reheating for a fresher taste.

3. How can I thicken my soup? Mash some of the potatoes or add a slurry of flour and water.

4. What other ingredients can I add? Try adding celery, carrots, or leeks for more flavor.

5. Can I use sweet potatoes instead of regular potatoes? Yes, sweet potatoes add a unique sweetness and are equally delicious.

This potato soup recipe is a versatile and comforting dish. Whether you’re hosting a family dinner or enjoying a quiet evening, this recipe is sure to impress. Try it today and let us know your favorite variations in the comments!

Shrimp Gratin Recipe: A Creamy and Savory Delight

Shrimp gratin is a satisfying dish that combines tender shrimp with a creamy, cheesy topping. It’s perfect for dinner parties, family meals, or when you want a simple yet elegant dish. This article will guide you through the recipe, preparation steps, and tips to make your shrimp gratin a success.

Shrimp Gratin

Ingredients

For this recipe, you will need:

  • 1 pound (450g) raw shrimp, peeled and deveined
  • 2 tablespoons butter
  • 2 tablespoons all-purpose flour
  • 1 cup milk
  • ½ cup heavy cream
  • 1 cup grated Gruyere or Parmesan cheese
  • ½ cup breadcrumbs
  • 2 garlic cloves, minced
  • 1 small onion, finely chopped
  • 2 tablespoons olive oil
  • 1 teaspoon paprika
  • Salt and pepper to taste
  • Fresh parsley, chopped, for garnish

Preparation Steps

  1. Preheat the oven to 375°F (190°C).
  2. Cook the shrimp:
    • Heat olive oil in a skillet over medium heat.
    • Add garlic and onion. Sauté until fragrant and translucent.
    • Add shrimp, season with paprika, salt, and pepper, and cook for 2-3 minutes until pink. Set aside.
  3. Make the sauce:
    • In a saucepan, melt butter over medium heat.
    • Whisk in flour and cook for 1-2 minutes until lightly golden.
    • Gradually pour in milk and heavy cream, whisking to avoid lumps. Cook until the mixture thickens.
    • Stir in half the grated cheese until melted. Season with salt and pepper.
  4. Assemble the gratin:
    • Arrange cooked shrimp in a baking dish.
    • Pour the cheese sauce evenly over the shrimp.
    • Sprinkle breadcrumbs and remaining cheese on top.
  5. Bake:
    • Place the baking dish in the preheated oven.
    • Bake for 20 minutes or until golden brown and bubbly.
  6. Garnish and serve:
    • Sprinkle chopped parsley on top.
    • Serve hot with crusty bread or a side salad.

Tips for Perfect Shrimp Gratin

  • Use fresh shrimp for the best flavor. Frozen shrimp works if thawed properly.
  • Substitute Gruyere with cheddar or mozzarella if preferred.
  • Add a pinch of nutmeg to the cheese sauce for extra flavor.
  • For a crunchier topping, mix breadcrumbs with melted butter before sprinkling.

Health Benefits

Shrimp is rich in protein, low in calories, and contains essential nutrients like selenium and vitamin B12. Pairing it with a creamy sauce makes this dish comforting while providing nutritional value.

FAQs

1. Can I make shrimp gratin in advance?
Yes. Assemble the gratin without baking, cover it tightly, and refrigerate for up to 24 hours. Bake just before serving.

2. Can I use pre-cooked shrimp?
Yes, but reduce the cooking time during the initial step to avoid overcooking.

3. Can I freeze shrimp gratin?
It’s not recommended due to the creamy sauce. Freezing can cause separation.

4. What can I serve with shrimp gratin?
Serve it with rice, pasta, or steamed vegetables for a complete meal.

5. How do I store leftovers?
Refrigerate leftovers in an airtight container for up to 2 days. Reheat in the oven or microwave.

This shrimp gratin recipe brings warmth and flavor to your table. Try it today and impress your family and friends.

Crab Cake Recipe: A Delicious Step-by-Step Guide

Crab cakes are a popular seafood dish. They are flavorful, easy to prepare, and a great option for any meal. This article will guide you through the recipe, preparation steps, and tips to make the perfect crab cakes.

Crab Cake

Ingredients for Crab Cake

  • 1 pound lump crab meat
  • 1/4 cup mayonnaise
  • 1 egg (lightly beaten)
  • 1 teaspoon Dijon mustard
  • 1 teaspoon Worcestershire sauce
  • 1 teaspoon Old Bay seasoning
  • 1/4 cup finely chopped parsley
  • 1/2 cup breadcrumbs
  • Salt and pepper to taste
  • 2 tablespoons unsalted butter or oil (for frying)
Crab Cake

Steps to Make Crab Cake

Prepare the Mixture

Combine mayonnaise, egg, Dijon mustard, Worcestershire sauce, Old Bay seasoning, and parsley in a large bowl. Mix until the ingredients are smooth and well-blended, creating the base for the crab cakes.

Add Crab Meat and Breadcrumbs

Carefully fold the lump crab meat and breadcrumbs into the mixture. Handle the crab meat gently to preserve its texture, ensuring each piece stays intact for the best results.

Shape the Cakes

Divide the mixture evenly and shape it into patties, approximately 3 inches in diameter. This size allows for even cooking and a balanced presentation.

Crab Cake
Chill the Cake

Place the patties on a plate and cover them. Refrigerate for at least 30 minutes. Chilling helps the cakes firm up, preventing them from falling apart during cooking.

Cook the Cake

Heat butter or oil in a skillet over medium heat. Cook the crab cakes for about 3-4 minutes per side, turning them carefully to achieve a golden-brown, crispy exterior.

Crab Cake
Serve

Serve the crab cakes warm, accompanied by tartar sauce, lemon wedges, or a side dish of your choice, such as a fresh green salad or roasted vegetables.

Crab Cake

Tips for Perfect Crab Cake

  • Use fresh, high-quality crab meat for the best flavor.
  • Avoid overmixing to keep the crab meat’s texture intact.
  • Refrigerate the cakes before cooking to prevent them from falling apart.
  • Serve with fresh greens or a dipping sauce for a complete meal.
Crab Cake

Variations to Try

  • Add chopped bell peppers or onions for extra flavor.
  • Substitute breadcrumbs with panko for a crispier texture.
  • Use Greek yogurt instead of mayonnaise for a lighter version.

FAQs

What do crab cakes taste like?
Crab cakes have a rich, savory taste with a slightly sweet flavor from the crab meat. The seasoning, such as Old Bay, adds a hint of spice, and the breadcrumbs give them a crispy texture.

Why does Gordon Ramsay always eat crab cakes?
Gordon Ramsay is known for emphasizing fresh, high-quality ingredients. Crab cakes highlight the natural sweetness and delicate flavor of crab meat, making them a chef’s favorite. Their versatility and ability to showcase culinary techniques also make them a popular dish in fine dining.

Is crab cake healthy?
Crab cakes can be healthy depending on how they’re prepared. Crab meat is high in protein and low in fat, but frying can add calories. Baking or using less oil can make them a lighter option. Ingredients like mayonnaise and breadcrumbs also affect nutritional value.

Why are they called crab cakes?
The name comes from the primary ingredient, crab meat, and the fact that they are formed into small, cake-like patties. The term “crab cakes” has been used in American cooking for decades, especially in regions like Maryland, where crab is abundant.


Use this recipe to enjoy restaurant-quality crab cakes at home.

Pumpkin Muffins: The Perfect Fall Treat

Pumpkin muffins are a staple for the fall season. They are easy to make, packed with flavor, and versatile enough for breakfast, snacks, or dessert. Here’s everything you need to know about making pumpkin muffins at home.

Why Pumpkin Muffins?

  • Pumpkin is rich in fiber and vitamins A and C.
  • Muffins are quick to prepare and can be stored for days.
  • They are customizable with add-ins like nuts, chocolate chips, or dried fruits.
Pumpkin Muffins

Ingredients for Pumpkin Muffins

This recipe makes 12 muffins.

  • 1 ¾ cups (220 g) all-purpose flour
  • 1 teaspoon baking soda
  • ½ teaspoon baking powder
  • ½ teaspoon salt
  • 1 teaspoon ground cinnamon
  • ½ teaspoon ground nutmeg
  • ½ teaspoon ground ginger
  • 1 cup (220 g) pumpkin puree
  • ½ cup (120 ml) vegetable oil
  • 2 large eggs
  • ¾ cup (150 g) granulated sugar
  • ½ cup (110 g) brown sugar
  • 1 teaspoon vanilla extract
Pumpkin Muffins

Instructions

  1. Preheat your oven to 350°F (175°C). Line a 12-cup muffin tin with paper liners or grease the cups.
  2. In a medium bowl, whisk together the flour, baking soda, baking powder, salt, cinnamon, nutmeg, and ginger.
  3. In a large bowl, combine the pumpkin puree, vegetable oil, eggs, granulated sugar, brown sugar, and vanilla extract. Mix until smooth.
  4. Gradually fold the dry ingredients into the wet ingredients. Stir until just combined. Do not overmix.
  5. Divide the batter evenly among the muffin cups, filling each about three-quarters full.
  6. Bake for 20–25 minutes, or until a toothpick inserted into the center of a muffin comes out clean.
  7. Let the muffins cool in the pan for 5 minutes, then transfer to a wire rack to cool completely.
Pumpkin Muffins

Tips for Perfect Muffins

  • Use canned pumpkin puree for consistent results. Avoid pumpkin pie filling.
  • Mix wet and dry ingredients gently to prevent dense muffins.
  • Add toppings like streusel, oats, or chopped nuts before baking.

Storage

  • Store in an airtight container at room temperature for up to 3 days.
  • Freeze for up to 3 months. Reheat in the microwave for a quick snack.

FAQs Frequently Asked Questions

Can I use whole wheat flour instead of all-purpose flour?

Yes, but the muffins may be denser. You can use a mix of whole wheat and all-purpose flour.

Can I make these muffins vegan?

Substitute eggs with flax eggs (1 tablespoon ground flaxseed + 2 ½ tablespoons water per egg). Use a neutral vegetable oil or melted coconut oil.

Can I add chocolate chips?

Yes, fold in ¾ cup of chocolate chips into the batter for added sweetness.

How can I tell if my muffins are done?

Insert a toothpick into the center of a muffin. If it comes out clean, they are done.

What if I don’t have muffin liners?

Grease the muffin tin well with cooking spray or butter to prevent sticking.

Making pumpkin muffins is straightforward and rewarding. They offer a taste of the season and can be customized to suit your preferences.

How to Make Alfredo Pasta: A Simple and Delicious Recipe

Alfredo pasta is a classic Italian dish known for its creamy sauce and comforting flavors. Follow this recipe to make it at home with ease.

Ingredients

For the sauce:

  • 2 cups heavy cream
  • 1/2 cup unsalted butter
  • 1 cup grated Parmesan cheese
  • 2 cloves garlic, minced
  • Salt and pepper to taste

For the pasta:

  • 12 ounces fettuccine pasta
  • Water for boiling
  • 1 teaspoon salt

Optional:

  • Fresh parsley for garnish
  • Grated nutmeg for flavor
Alfredo Pasta

Step-by-Step Instructions

  1. Cook the pasta
    • Bring a large pot of salted water to a boil.
    • Add the fettuccine and cook until al dente, usually about 8-10 minutes.
    • Reserve 1/2 cup of pasta water, then drain the pasta.
  2. Prepare the Alfredo sauce
    • Melt butter in a large skillet over medium heat.
    • Add minced garlic and cook until fragrant, about 1 minute.
    • Pour in the heavy cream, stirring frequently to avoid scorching.
    • Reduce heat to low and simmer for 3-4 minutes.
  3. Incorporate Parmesan cheese
    • Gradually whisk in Parmesan cheese until it melts completely.
    • Season with salt and pepper to taste.
    • Add a pinch of nutmeg for added depth if desired.
  4. Combine pasta and sauce
    • Add the cooked pasta to the skillet.
    • Toss gently to coat the pasta evenly in the sauce.
    • If needed, use reserved pasta water to adjust the sauce consistency.
  5. Serve
    • Transfer the Alfredo pasta to serving plates.
    • Garnish with chopped parsley and extra Parmesan cheese.
Alfredo Pasta

Tips for Perfect Alfredo Pasta

  • Use high-quality Parmesan cheese for the best flavor.
  • Avoid boiling the sauce; simmering preserves its creamy texture.
  • Serve immediately to enjoy the dish at its peak.

Nutritional Information

(Approximate per serving)

  • Calories: 550
  • Protein: 15g
  • Carbohydrates: 60g
  • Fat: 25g
Alfredo Pasta

FAQs

1. Can I use milk instead of heavy cream?
Yes, but mix milk with a little flour or cornstarch to thicken the sauce.

2. What protein pairs well with Alfredo pasta?
Grilled chicken, shrimp, or sautéed mushrooms are great options.

3. How do I store leftovers?
Store in an airtight container in the fridge for up to 3 days. Reheat on the stove with a splash of milk.

4. Can I make Alfredo sauce ahead of time?
Yes, but reheat it gently to prevent curdling.

5. Is there a gluten-free option?
Use gluten-free pasta and check that all ingredients are gluten-free.

Alfredo pasta is versatile and easy to adapt to your taste. Try it today and elevate your home cooking.

Pecan Upside Down Cake Recipe: A Must-Try Dessert

Pecan upside down cake is a crowd-pleasing dessert with rich, buttery flavors and a caramelized pecan topping. This recipe is easy to follow, perfect for family gatherings, or any time you want to impress your guests. Let’s dive in.

Upside Down Cake

Ingredients

For the pecan topping:

  • 1/2 cup unsalted butter, melted
  • 1 cup light brown sugar, packed
  • 1/4 cup heavy cream
  • 1 1/2 cups pecans, chopped or halved

For the cake:

  • 1 1/2 cups all-purpose flour
  • 1 tsp baking powder
  • 1/4 tsp baking soda
  • 1/4 tsp salt
  • 1/2 cup unsalted butter, softened
  • 3/4 cup granulated sugar
  • 2 large eggs
  • 1 tsp vanilla extract
  • 1/2 cup whole milk
ingredients

Instructions

Prepare the oven and pan.

  • Preheat your oven to 350°F (175°C).
  • Grease a 9-inch round cake pan and line the bottom with parchment paper.
  1. Make the pecan topping.
    • Mix melted butter, brown sugar, and heavy cream until combined.
    • Spread the mixture evenly over the bottom of the prepared pan.
    • Arrange pecans on top of the mixture.
  2. Prepare the cake batter.
    • Whisk flour, baking powder, baking soda, and salt in a bowl.
    • In a separate bowl, cream the butter and sugar until light and fluffy.
    • Add eggs, one at a time, mixing well after each addition.
    • Mix in vanilla extract.
    • Gradually add the dry ingredients to the wet ingredients, alternating with milk, starting and ending with the dry ingredients.
  3. Assemble and bake.
    • Pour the batter evenly over the pecan topping.
    • Smooth the top with a spatula.
    • Bake for 35-40 minutes or until a toothpick inserted in the center comes out clean.
  4. Cool and flip.
    • Let the cake cool in the pan for 10 minutes.
    • Carefully run a knife around the edges and invert the cake onto a serving plate.
    • Remove the parchment paper and allow the cake to cool completely.
Pekan Upside Down Cake

Tips for Success

  • Use fresh pecans for the best flavor.
  • Make sure to grease the pan thoroughly to avoid sticking.
  • Serve with whipped cream or vanilla ice cream for an extra treat.

Why You’ll Love This Recipe

  • Combines the crunch of pecans with a moist cake texture.
  • Ideal for special occasions and holidays.
  • Simple ingredients with a show-stopping result.
Pekan Upside Down Cake

FAQs Frequently Asked Questions

Can I use a different type of nut?
Yes, walnuts or almonds are great substitutes, but pecans provide the most authentic flavor.

Can I make this cake ahead of time?
You can prepare it a day in advance. Store it covered at room temperature or in the fridge.

What’s the best way to store leftovers?
Wrap leftovers tightly and store them in the refrigerator for up to five days.

Can I freeze pecan upside down cake?
Yes, wrap it in plastic wrap and aluminum foil, then freeze for up to three months.

Can I use a boxed cake mix?
Yes, substitute the homemade cake batter with a yellow or butter cake mix for a quicker option.

This pecan upside down cake is guaranteed to impress. Make it your go-to dessert for any occasion.

Hearty Lentil and Potato Soup Recipe: A Comforting Meal

Lentil and potato soup is a satisfying dish packed with flavor, nutrients, and simplicity. Perfect for a cozy night at home or as a meal prep option, this recipe is easy to make and offers incredible versatility. Here’s everything you need to know to make it, plus tips to make it even better.

Ingredients of Lentil and Potato Soup

Serves: 4-6

  • 2 tablespoons olive oil
  • 1 medium onion, diced
  • 2 garlic cloves, minced
  • 2 medium carrots, diced
  • 2 celery stalks, diced
  • 2 medium potatoes, peeled and cubed
  • 1 cup dried lentils, rinsed (green or brown work best)
  • 6 cups vegetable broth
  • 1 teaspoon ground cumin
  • 1 teaspoon smoked paprika
  • 1 bay leaf
  • Salt and pepper to taste
  • 1 cup diced tomatoes (canned or fresh)
  • 1 handful fresh parsley, chopped (optional for garnish)

Step-by-Step Lentil and Potato Soup Instructions

  1. Heat the Oil
    Warm olive oil in a large pot over medium heat. Add onion, garlic, carrots, and celery. Sauté for 5 minutes until softened.
  2. Add Spices and Tomatoes
    Stir in cumin and smoked paprika. Add diced tomatoes and cook for 2-3 minutes to enhance the flavor.
  3. Combine Lentils, Potatoes, and Broth
    Add lentils, potatoes, and vegetable broth. Toss in the bay leaf. Bring to a boil.
  4. Simmer
    Reduce heat to low and cover. Let it simmer for 25-30 minutes, or until the lentils and potatoes are tender.
  5. Season and Adjust
    Remove the bay leaf. Add salt and pepper to taste. If the soup is too thick, add a little more broth or water.
  6. Serve
    Ladle into bowls and garnish with fresh parsley if desired. Serve with crusty bread or a side salad.

Nutritional Benefits of Lentil and Potato Soup

  • Protein-packed: Lentils provide plant-based protein.
  • High in fiber: Keeps digestion healthy.
  • Rich in vitamins: Potatoes and vegetables add essential nutrients like potassium and vitamin C.

Tips for Customization

  • Make it spicy: Add red pepper flakes or cayenne pepper.
  • Go creamy: Blend half the soup with an immersion blender for a creamy texture.
  • Add greens: Toss in spinach or kale during the last 5 minutes of cooking.
  • Switch lentils: Use red lentils for a quicker cooking time and softer texture.

FAQs

1. Can I freeze lentil and potato soup?
Yes. Let the soup cool completely, then transfer to an airtight container. Freeze for up to 3 months. Thaw overnight in the fridge and reheat on the stovetop.

2. Can I make this soup in a slow cooker?
Yes. Sauté the vegetables in a skillet first, then transfer to a slow cooker. Add the remaining ingredients and cook on low for 6-8 hours.

3. How can I make this soup gluten-free?
It’s naturally gluten-free. Ensure the vegetable broth is certified gluten-free.

4. What side dishes pair well with this soup?
Serve with crusty bread, garlic naan, or a fresh green salad.

5. Can I use sweet potatoes instead of regular potatoes?
Absolutely. Sweet potatoes add a hint of sweetness and pair well with the smoky spices.

Lentil and potato soup is a comforting, budget-friendly dish that’s easy to adapt. Try this recipe and enjoy a wholesome, flavorful meal.