Introduction
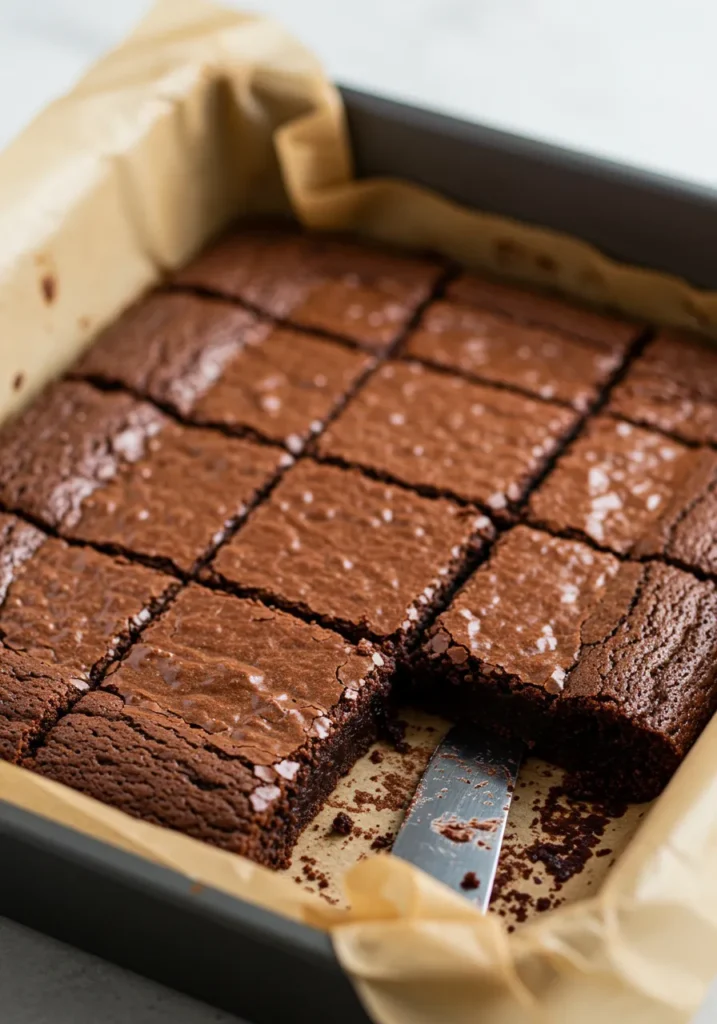
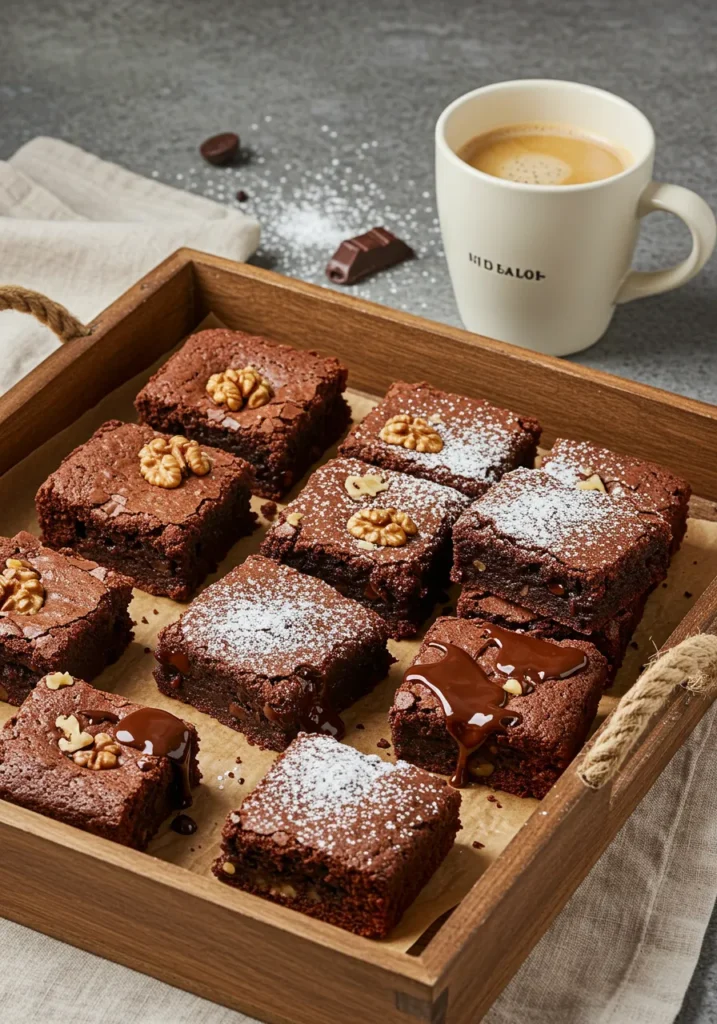
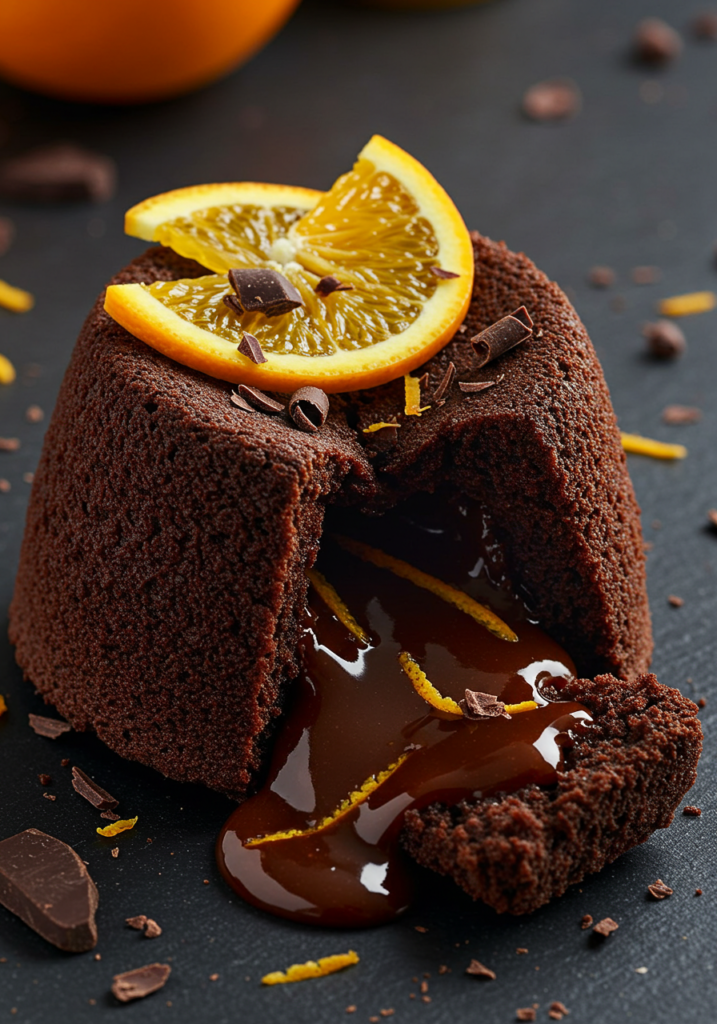
Chocolate lava cake, also known as molten chocolate cake, is a dessert lover’s dream come true. Its soft outer layer encases a gooey chocolate center, creating a heavenly combination. This dessert works perfectly for romantic dinners, family gatherings, or as a personal indulgence. In this article, we’ll guide you through a simple, foolproof recipe for chocolate lava cake. Additionally, we’ll share some tips to ensure your dessert is a success and answer frequently asked questions about this delightful treat.
Ingredients of Chocolate Lava Cake
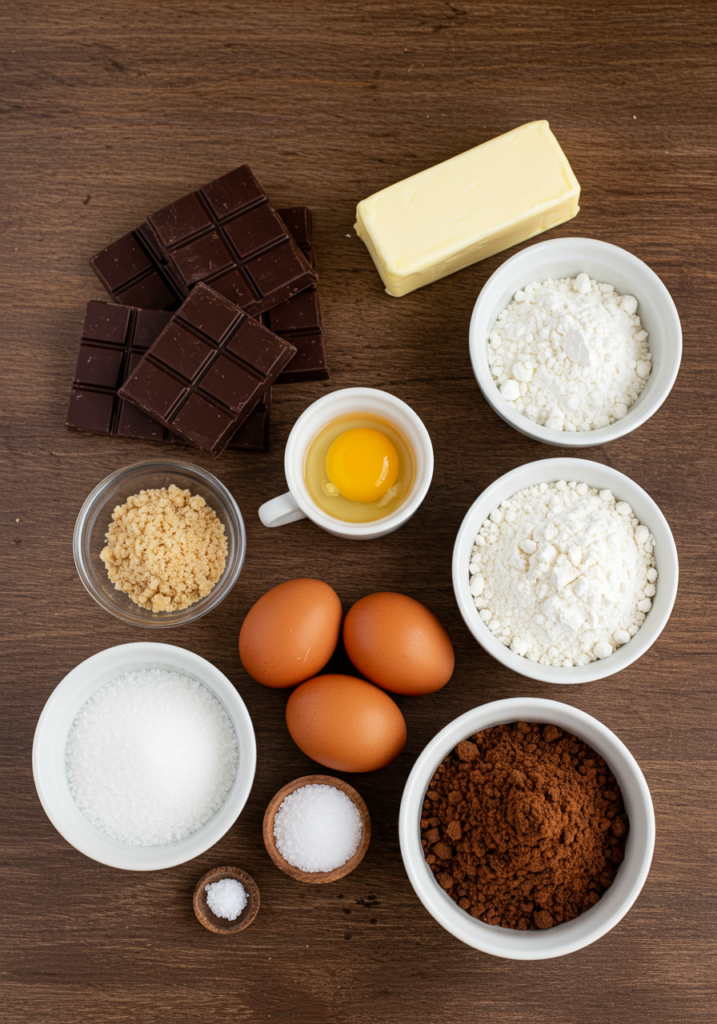
For this recipe, you will need:
- 200g of dark chocolate (70% cocoa recommended)
- 100g of unsalted butter (plus extra for greasing)
- 2 large eggs
- 2 large egg yolks
- 100g of granulated sugar
- 50g of all-purpose flour
- 1 teaspoon of vanilla extract
- A pinch of salt
- Optional: Powdered sugar, fresh berries, or a scoop of vanilla ice cream for garnish
Essential Equipment for Making Molten Chocolate Lava Cake
- Mixing bowls
- Whisk or electric mixer
- Ramekins or oven-safe molds
- Baking tray
Instructions for Perfect Chocolate Lava Cake
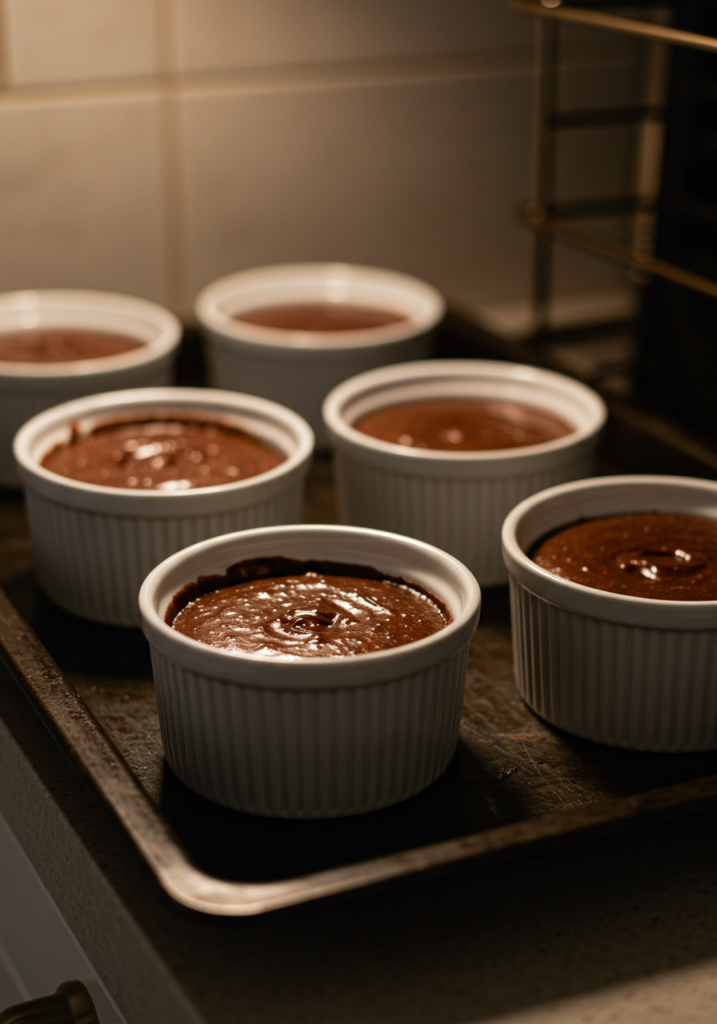
1: Prepare the Ramekins
Begin by preheating your oven to 200°C (390°F). Generously butter the ramekins and lightly dust them with flour or cocoa powder to prevent sticking. Set them aside for later use.
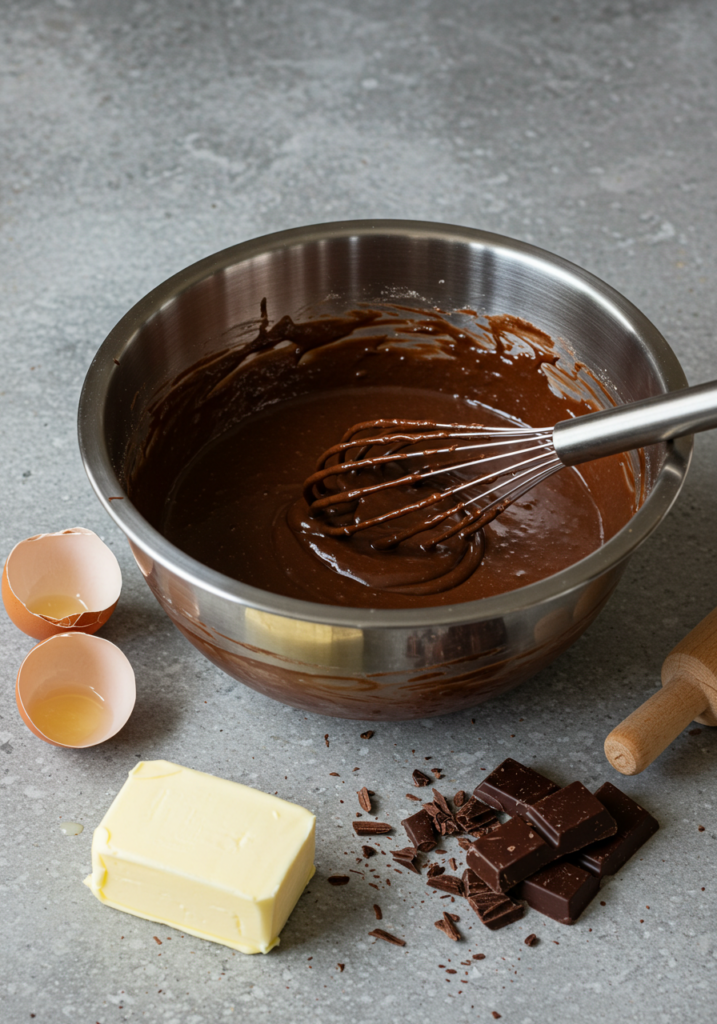
2: Melt Chocolate and Butter
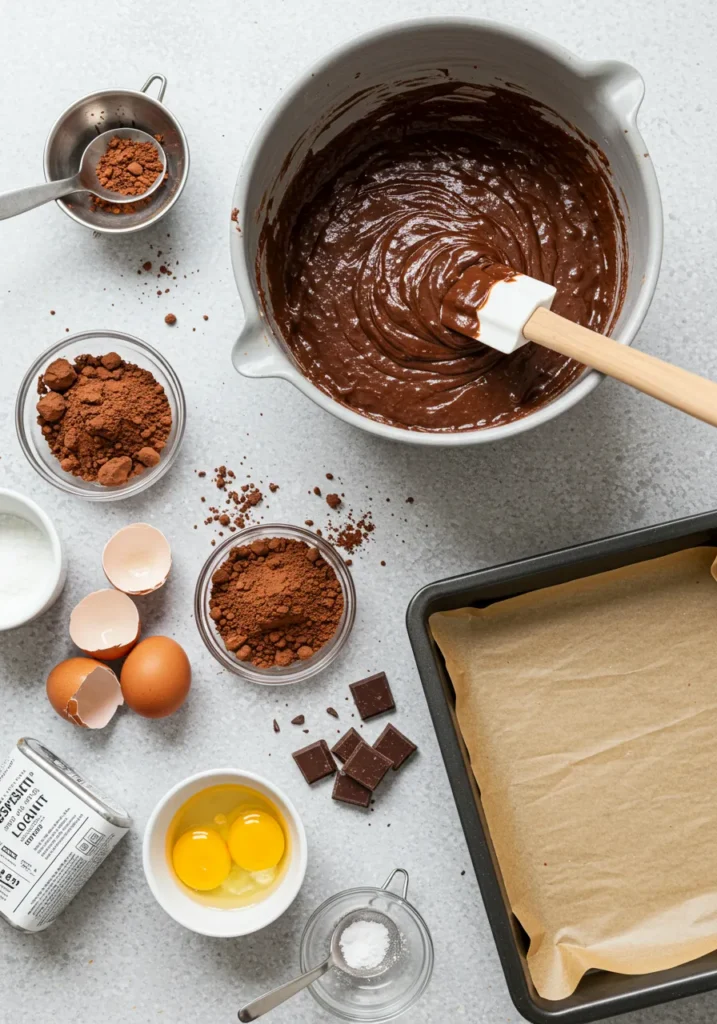
Next, melt the chocolate and butter together in a heatproof bowl. Use a double boiler or microwave in 30-second intervals, stirring until smooth. Allow the mixture to cool slightly.
3: Whisk the Eggs and Sugar
In a separate bowl, whisk together the eggs, egg yolks, and granulated sugar. Continue whisking until the mixture becomes pale and fluffy.
4: Combine Ingredients
Slowly pour the melted chocolate mixture into the egg mixture. Whisk constantly to ensure everything is well incorporated. Then, add the vanilla extract, pinch of salt, and sifted flour. Gently fold the ingredients until the batter is smooth.
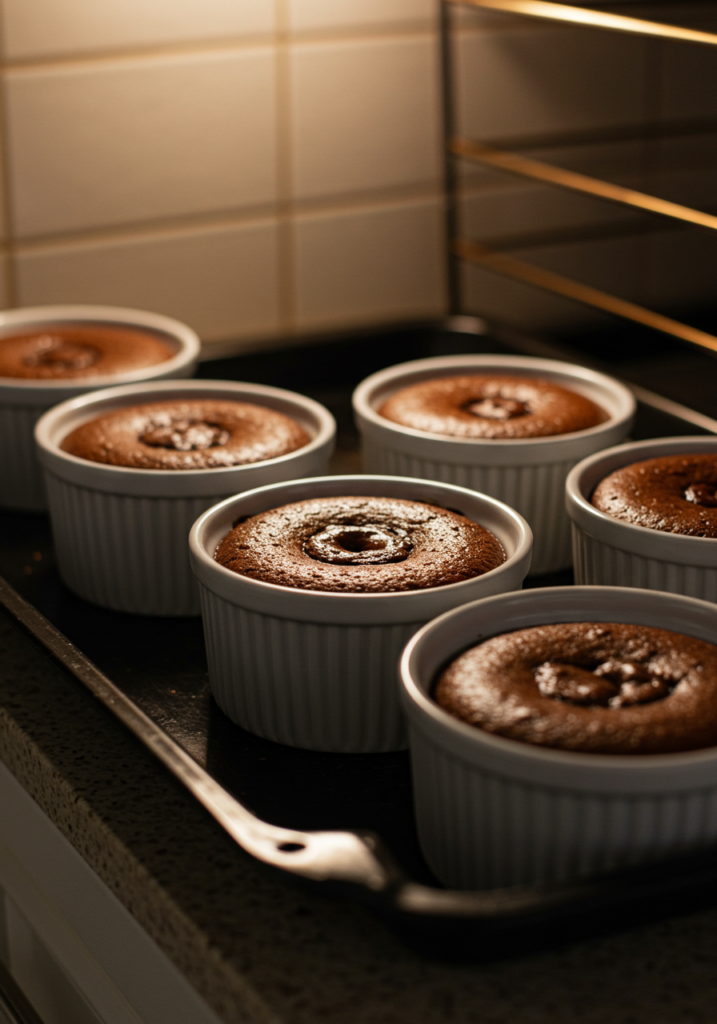
5: Fill and Bake
Divide the batter evenly among the prepared ramekins, filling each about three-quarters full. Place the ramekins on a baking tray and bake for 10-12 minutes. The edges should be set while the center remains soft for that perfect molten texture.
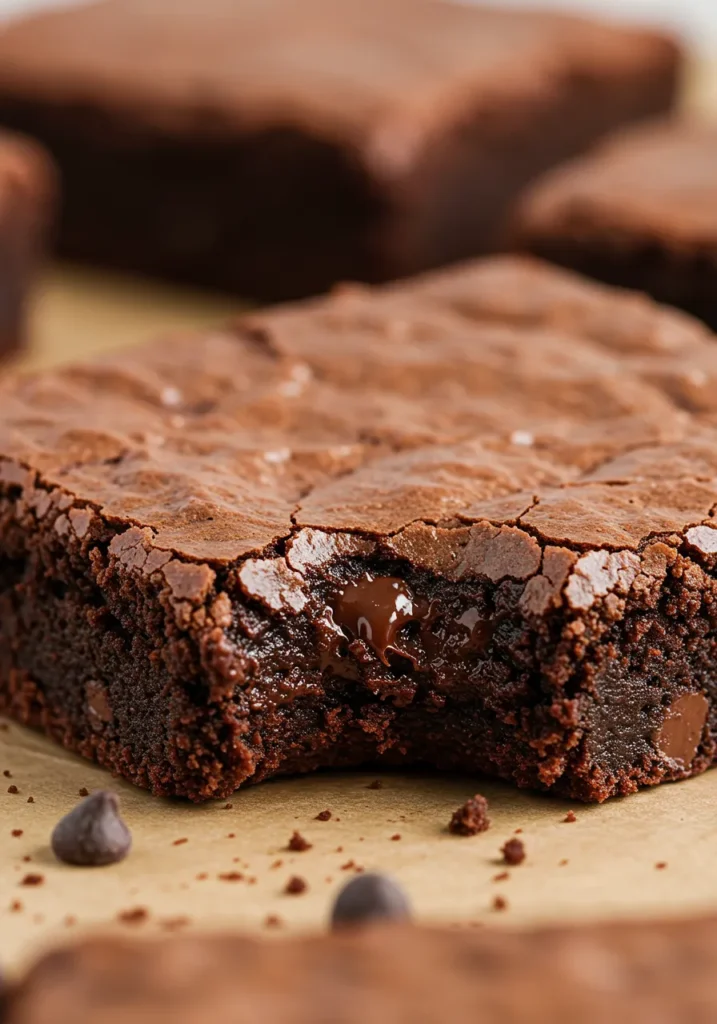
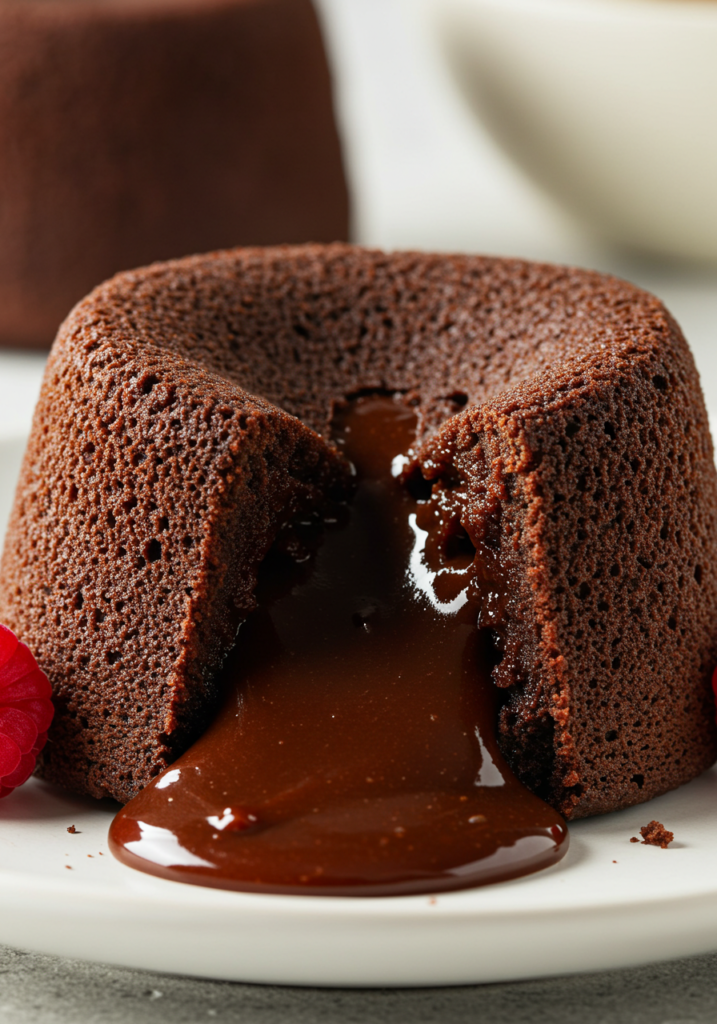
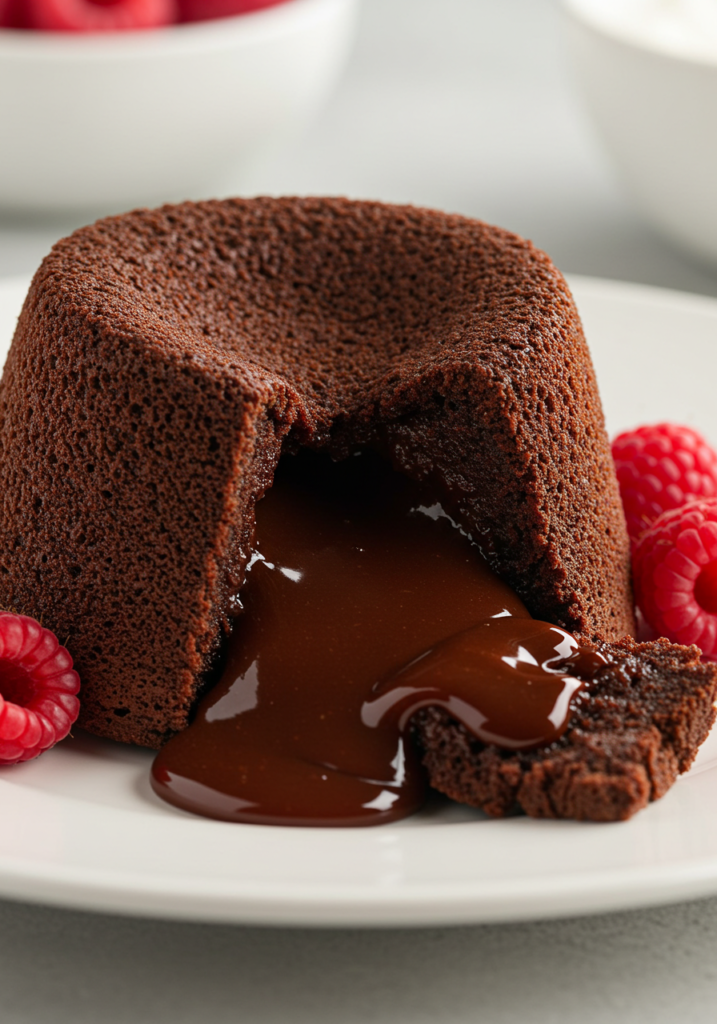
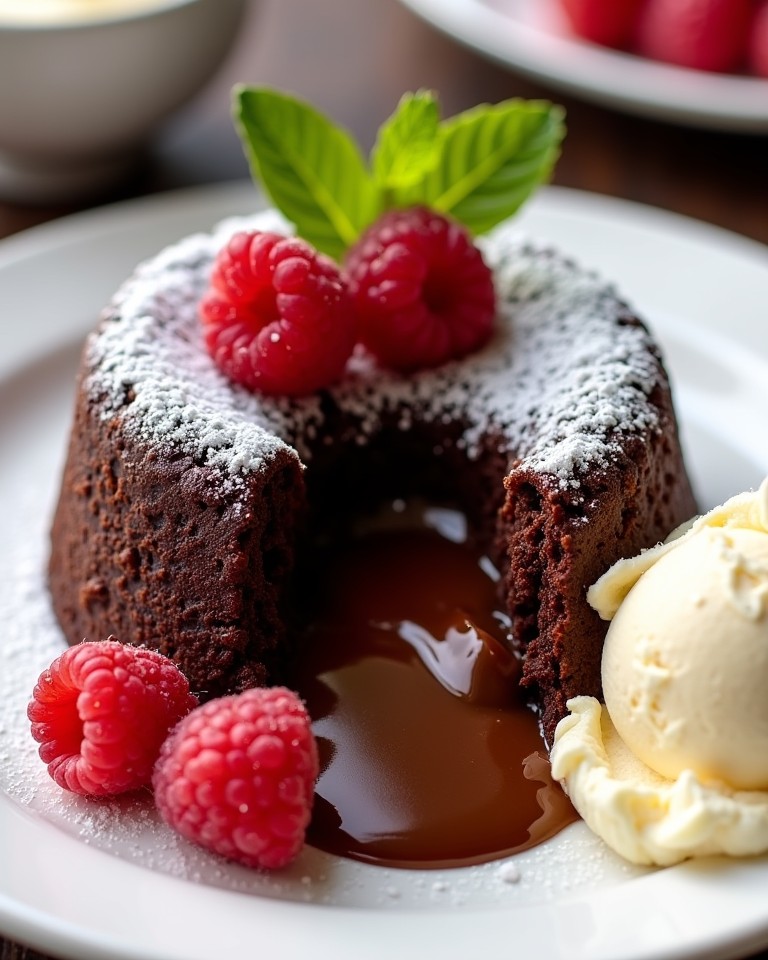
6: Serve Immediately
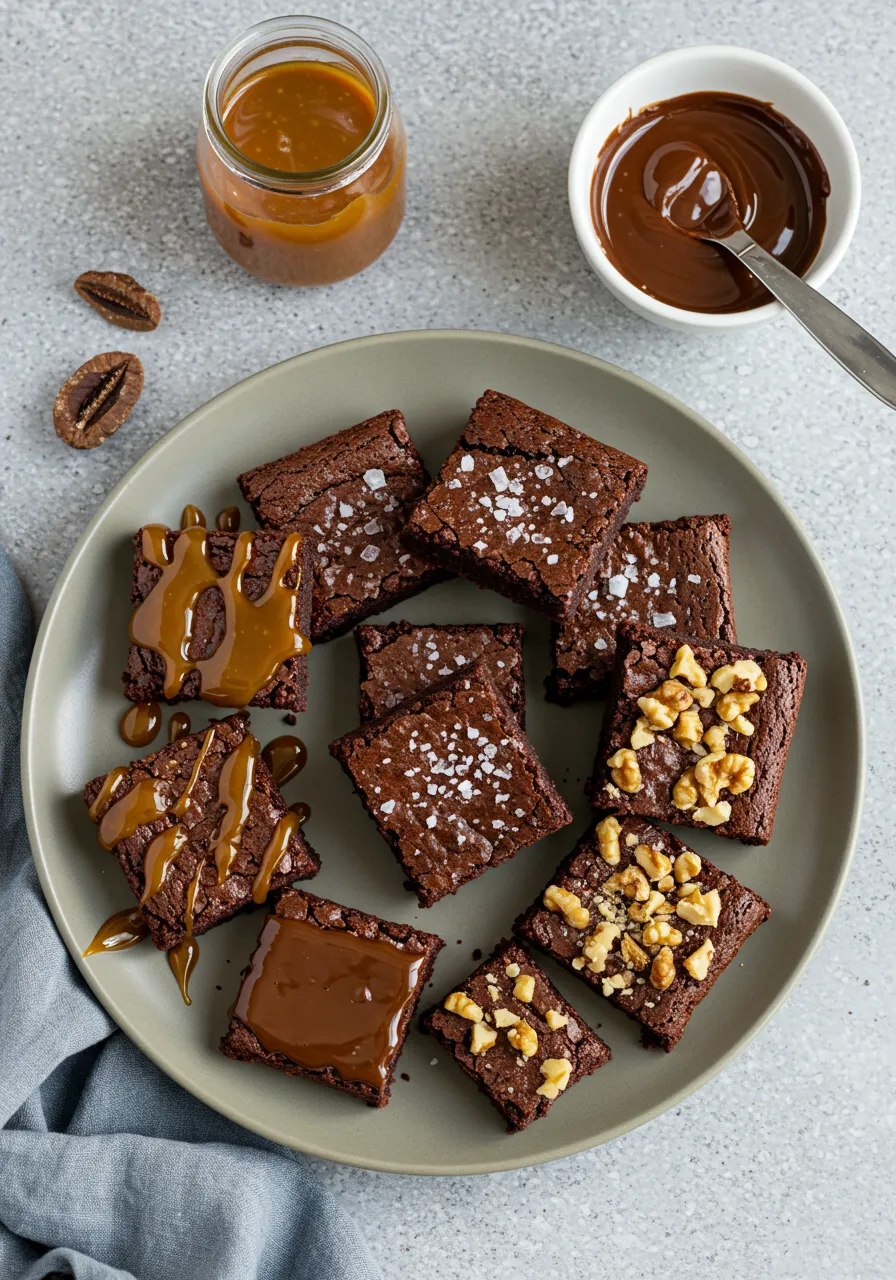
After baking, let the cakes rest for 1-2 minutes. Carefully invert them onto serving plates. Garnish with powdered sugar, fresh berries, or a scoop of vanilla ice cream. Serve warm and savor the molten chocolate goodness!
Tips for Perfect Chocolate Lava Cake
- Use Quality Chocolate: The flavor of your lava cake largely depends on the quality of chocolate you use. Opt for high-quality dark chocolate for the best results.
- Don’t Overbake: Keep a close eye on your cakes as they bake. Overbaking will result in a fully cooked center, losing the signature molten texture.
- Prep in Advance: You can prepare the batter ahead of time and refrigerate it in the ramekins. Just add an extra minute to the baking time if baking straight from the fridge.
- Experiment with Flavors: Adding espresso powder, orange zest, or a pinch of cinnamon to the batter can offer a unique twist.
FAQs Frequently Asked Questions About Chocolate Lava Cake
1. Can I make chocolate lava cake without ramekins?
Yes! Oven-safe muffin tins or silicone molds can be excellent alternatives. Just adjust the baking time slightly.
2. Can I store leftover lava cakes?
While chocolate lava cake are best enjoyed fresh, you can store leftovers in the fridge for up to 2 days. Reheat gently in the microwave for about 10-15 seconds before serving.
3. Can I make a gluten-free version?
Absolutely! Substitute the all-purpose flour with almond flour or a gluten-free flour blend. While the texture may vary slightly, the flavor remains delightful.
4. Why is my lava cake too runny or too firm?
The key to a perfect lava cake lies in timing. Baking for too little time results in an overly runny cake, while too much time leads to a firm center. Follow the recipe instructions closely and monitor your oven.
5. What can I serve with chocolate lava cake?
Chocolate lava cake pairs beautifully with vanilla ice cream, whipped cream, or a drizzle of raspberry sauce. These additions elevate the dessert to a whole new level.
Conclusion
Chocolate lava cake is a decadent dessert that’s surprisingly simple to make. By using the right ingredients and paying attention to the details, you can create a show-stopping dessert that will impress anyone. Whether for a special occasion or a weeknight treat, this recipe is sure to become a favorite in your kitchen.